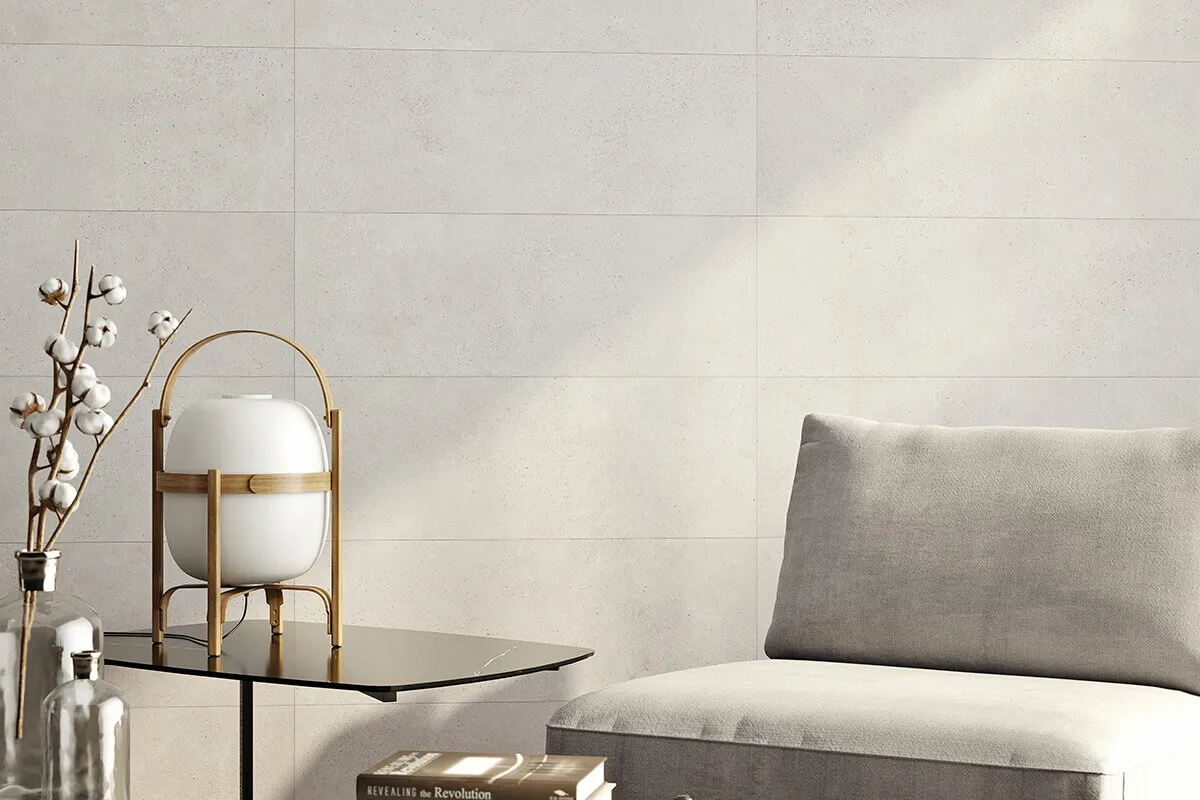
Whether you want to create a feature wall or a decorative chimney breast you’ll want to get wall tiles right the first time. This involves careful planning and preparation, skilful execution and maintenance.
Whether you want to create a feature wall or a decorative chimney breast you’ll want to get wall tiles right the first time. This involves careful planning and preparation, skilful execution and maintenance.
Undoubtedly employing a professional tiler will provide the optimum results for tiling a wall. But for the keen DIYer, the following step-by-step guide should guarantee a professional finish. From how to tile a kitchen wall to a shower enclosure.
As with any construction project, the key to success is preparation. The preliminary steps described below will ensure the longevity of the wall tiles.
Most important of all is the substrate or surface onto which the tiles will be laid. Typically, a backer board provides the optimum surface for tiling, especially in humid conditions. The following checklist of requirements provides a general overview:
Without the correct tools and equipment, the desired result will be more difficult to achieve. For the DIY enthusiast, the following list describes the basic equipment necessary.
1. Trowel for adhesive with a notched edge
2. Spirit level and measuring tape
3. Tile spacers to ensure even spaces between the tiles
4. Timber batten for tiles spacing and straight lines
5. Drill for making holes in walls with ceramic and masonry drill bit
6. Tile cutter and nippers to shape individual tiles
7. Grout float & sponge
8. Mixing bucket
9. Tile marker or pencil
10. Rubber mallet and hammer
11. Masonry nails
12. Hacksaw
13. Chisel
14. Masking tape
15. Cloth for cleaning tile surface
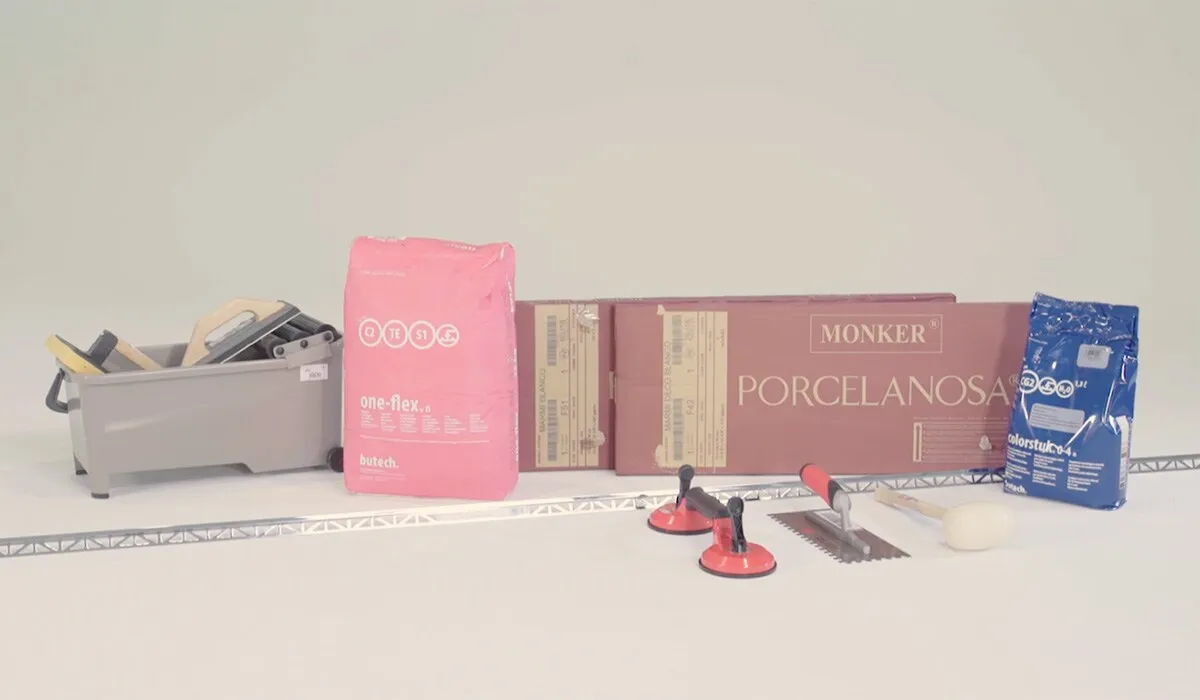
Tiling tools
To avoid waste, we advise making careful calculations before purchasing your chosen tile. Tiles are usually sold in square metre (or yard) quantities which means you should always buy too many. Ensure that the tiles come from the same batch to avoid colour variations, etc.
Measure the area of the wall, multiply the height by the width for each wall section, and then subtract areas that don’t require tiling (for example a window). In general, we should always allow for 10% or 15% extra for wastage and replacement tiles in the future.
For intricate designs or more complex tile layout patterns, we recommend dry laying the pattern out on a floor-loss surface before commencing. That way you know what to aim and have a rough idea of how many tiles will have to be cut.
The trick in how to tile a wall is getting the first tile right. In other words, make sure the first tile is properly aligned, and level and don’t attempt too much in one go. The tiling process is divided into two actions, applying the adhesive and tiling and then grouting the gaps between the tiles. Each action is critical to the end result.
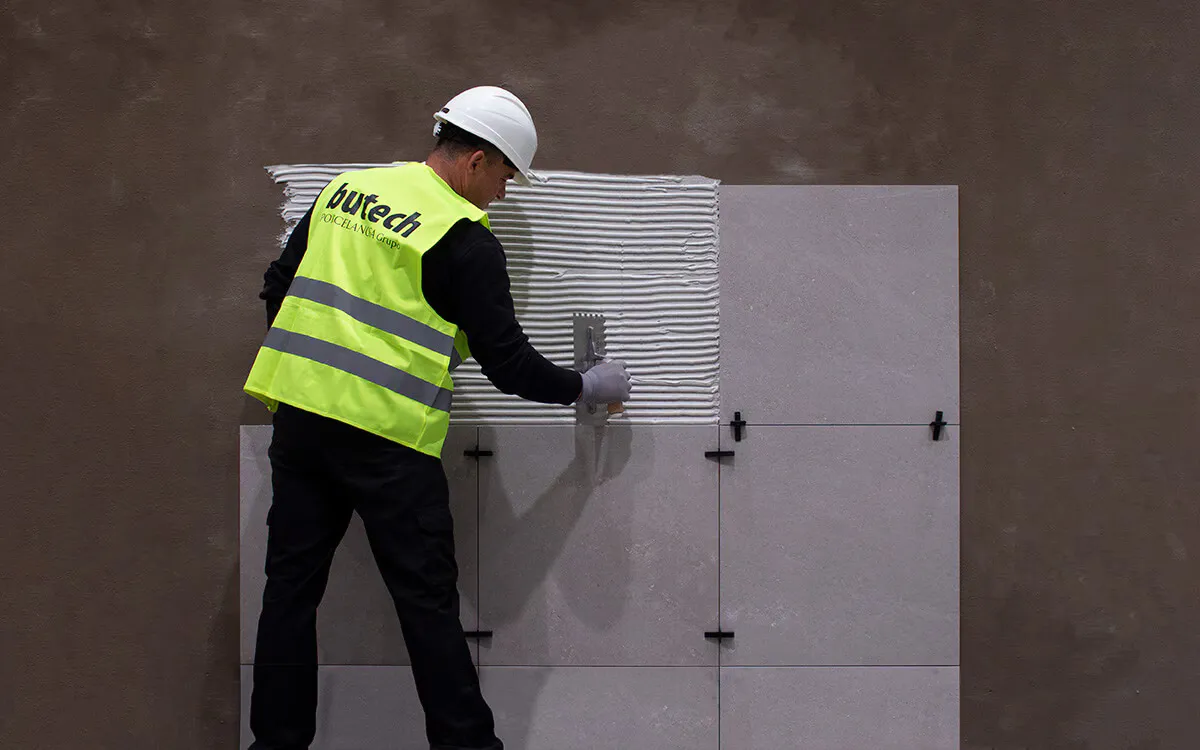
Wall tiling process
1. Use a timber batten to mark a line with a pencil along the wall one full tile above the lowest point on the wall (allowing for skirting board or other). This line provides a level datum to start tiling. Use the spirit level to ensure a horizontal line and then a vertical line at 90 degrees.
2. Prepare the adhesive according to the manufacturer’s instructions. Then using the notched trowel spread the adhesive over an area measuring 30 cm x 30 cm (one ft square) in the centre of the wall to be tiled.
3. Place the first tile against the wall, along the datum line in a shuffle action to ensure a firm fixing. Use a rubber mallet to gently position the tile against the wall. Lay the tiles in a pyramid shape fashion with 3 tiles below, then two on top of that and then a top tile. Continue with this approach, interconnecting the pyramid shapes.
4. The tile spacers will ensure an even distance between the edges both in the horizontal and vertical alignment. Allow for approximately 2 spacers per side. Once the adhesive has dried the spacers are removed.
5. Depending on the selected tile follow manufacturer instructions when cutting the tiles to fit in corners, or awkward angles. Either the wet tile cutter or tile nipper will provide the optimum results. Apply the adhesive directly to these half or part tiles to ensure the best adhesion.
6. Check the line and angle of the tile rows as you progress through the job with the spirit level.
7. For tiling a wall with large tiles we recommend two people handling the tile. This helps avoid accidents and the risk of potential hazards.
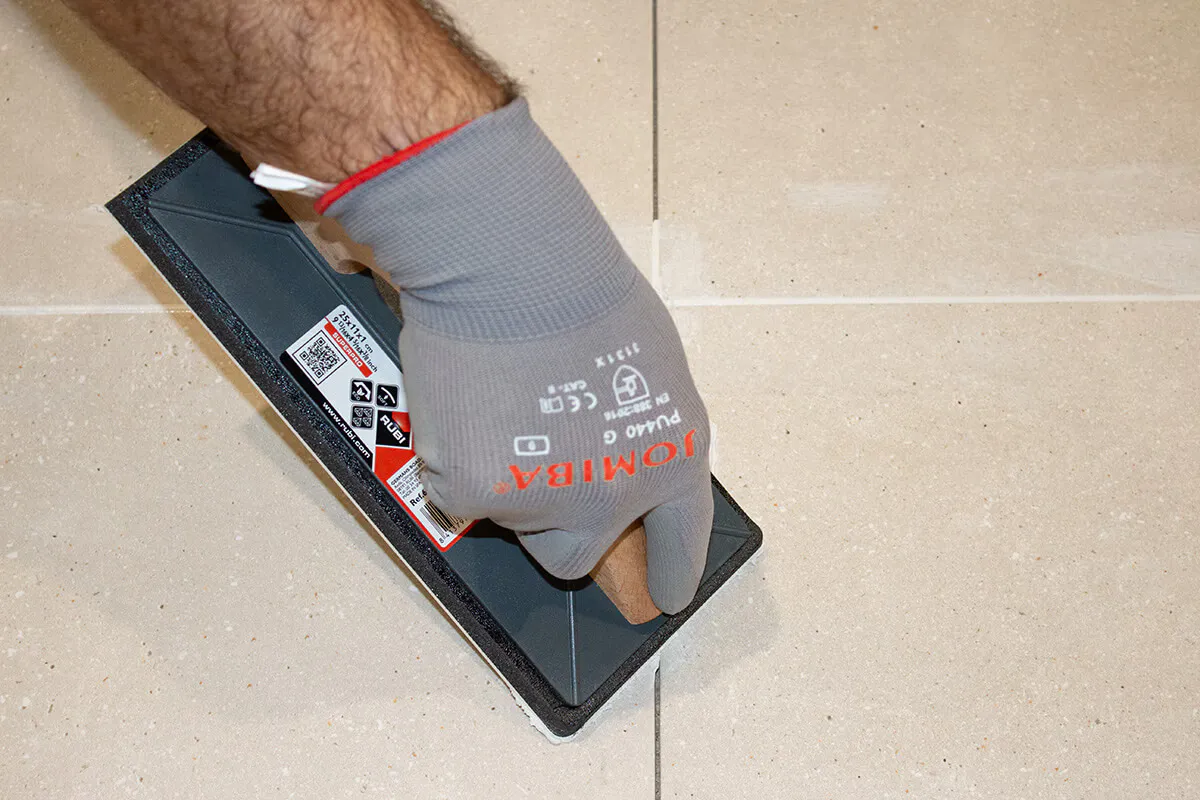
Grouting tiles
1. Consult with your tile supplier for the most appropriate type and colour of grout. The choice will depend on the width of the gaps and the moisture level as well as what cleaning products are used. Mix the selected grout according to the manufacturer’s instructions or use a pre-mixed variety.
2. Leave the adhesive to dry for at least 24 hours before starting the grouting process.
3. After the spacers are removed push the grouting into the spaces between the tiles using the grout float. Remove any excess grout with a sponge as you progress with the job.
4. Clean the surface of the tiles as you progress with a damp cloth and dry off the tiles with a clean dry cloth.
We have looked at how both tiles and grouting are critical in how to tile a wall properly. Preparation and planning will ensure there are no surprises along the way. With our tips and advice, even a DIY enthusiast can achieve a professional finish. Nevertheless, if you have any queries regarding the above recommendations do not hesitate to contact us.